Heartbeats are periodic signals indicating a node is alive. Push-based: nodes send ‘I’m alive’ to a monitor. Pull-based: monitor queries nodes. Timeout = ~3x heartbeat interval. Quorum prevents split-brain (both sides thinking the other is dead). Kubernetes uses liveness probes (restart if dead) and readiness probes (stop traffic if unready).
It’s 2 AM. Your database cluster is running smoothly. Then, one server freezes. Not a clean crash. Not a network disconnect. Just frozen. Still listening on the network, still responding to pings, but completely unable to process requests.
Your users start seeing timeouts. Requests pile up. Other servers keep routing traffic to the frozen node because, technically, it’s still “up.” The whole system starts to degrade.
This is the nightmare scenario that heartbeat mechanisms prevent. Let me show you how.
The Problem: How Do You Know If Something Is Dead?
In a single server application, failure is obvious. The process crashes, you get an exception, and you restart it. Simple.
In distributed systems, nothing is simple.
The Hotel Room Problem
Imagine you’re a hotel manager with 100 rooms across 5 floors. You need to know which rooms are occupied and which are empty. How do you check?
Option 1: Ask each room once
You knock on each door at check-in time. If someone answers, you mark it occupied. But what if they checked out early without notifying the front desk? What if they’re in the shower and don’t hear the knock?
Option 2: Wait for complaints
Only check when housekeeping reports an issue. By then, you might have a guest who’s been stuck in a broken elevator for 20 minutes.
Option 3: Regular check-ins (Heartbeat)
Every guest must call the front desk every hour to say “I’m still here.” If you don’t hear from a room for 2 hours, you send someone to check. This is the heartbeat approach.
sequenceDiagram
    participant R as Room 203
    participant F as Front Desk

    R->>F: Check-in: I'm here
    Note over F: Start monitoring Room 203

    loop Every 30 minutes
        R->>F: Heartbeat: Still here
        F->>F: Reset timeout timer
    end

    Note over R: Guest falls asleep<br/>No more heartbeats

    Note over F: 60 minutes pass<br/>No heartbeat received
    F->>F: Mark Room 203 as suspicious
    F->>R: Send housekeeper to check
This is exactly how distributed systems track which servers are alive.
What Is a Heartbeat?
A heartbeat is a periodic signal that a process sends to prove it’s still alive and functioning. If the heartbeat stops, the system assumes something went wrong.
Think of it like a pulse. If you stop feeling a pulse, you don’t wait around to see what happens. You act immediately.
The Three Components
Every heartbeat system has three parts:
- Sender: The node that sends periodic “I’m alive” signals
- Receiver: The node that monitors for heartbeats
- Timeout: How long to wait before declaring a node dead
graph TB
    A[Server Node] -->|Every 5 seconds| B[Send Heartbeat]
    B --> C[Monitor Node]

    C --> D{Received within<br/>15 seconds?}
    D -->|Yes| E[Node is Healthy]
    D -->|No| F[Node is Dead]

    E --> G[Continue routing traffic]
    F --> H[Remove from cluster]

    style A fill:#dcfce7,stroke:#16a34a,stroke-width:2px
    style C fill:#dbeafe,stroke:#3b82f6,stroke-width:2px
    style F fill:#fee2e2,stroke:#dc2626,stroke-width:2px
    style H fill:#fee2e2,stroke:#dc2626,stroke-width:2px
Real-World Example: Kubernetes
Kubernetes uses heartbeats extensively to manage containers. Every pod must prove it’s alive, or Kubernetes kills it and starts a new one.
Liveness Probes
Kubernetes checks if your application is still running:
1
2
3
4
5
6
7
8
9
10
11
12
13
14
15
16
apiVersion: v1
kind: Pod
metadata:
  name: payment-service
spec:
  containers:
  - name: app
    image: payment-service:latest
    livenessProbe:
      httpGet:
        path: /health
        port: 8080
      initialDelaySeconds: 30
      periodSeconds: 10
      timeoutSeconds: 5
      failureThreshold: 3
What this does:
- Wait 30 seconds after container starts (give it time to boot)
- Every 10 seconds, send an HTTP GET to
/health - If the request takes longer than 5 seconds, mark it failed
- After 3 consecutive failures, kill the container and restart it
sequenceDiagram
    participant K as Kubernetes
    participant P as Payment Pod

    Note over K: Pod started
    K->>K: Wait 30 seconds

    loop Every 10 seconds
        K->>P: GET /health
        alt Pod responds within 5s
            P-->>K: 200 OK
            Note over K: Reset failure count
        else Pod times out or errors
            P--xK: Timeout/Error
            Note over K: Increment failure count
        end
    end

    Note over K: 3 failures in a row
    K->>P: Kill pod
    K->>K: Start new pod
Readiness Probes
Separate from liveness, Kubernetes also checks if your application is ready to receive traffic:
1
2
3
4
5
6
7
readinessProbe:
  httpGet:
    path: /ready
    port: 8080
  initialDelaySeconds: 10
  periodSeconds: 5
  failureThreshold: 2
The difference:
- Liveness: Is the process alive? If not, restart it.
- Readiness: Is the process ready to handle requests? If not, stop sending traffic but don’t restart.
This matters when your app is temporarily overloaded or waiting for a database connection.
The Math: Choosing Timeout Values
Getting the timeout right is critical. Too short and you get false positives (killing healthy nodes). Too long and you leave dead nodes in your cluster.
The Formula
Here’s the key relationship:
1
Failure Detection Time = (Heartbeat Interval × Failure Threshold) + Network Latency
Example:
- Heartbeat every 5 seconds
- Failure threshold of 3 missed heartbeats
- Network latency of 100ms
Minimum detection time: (5s × 3) + 0.1s = 15.1 seconds
That’s how long it takes to detect a failure in the best case.
Pattern 1: Push-Based Heartbeat
The node actively sends “I’m alive” messages to a central monitor.
How it works:
Each node runs a background process that periodically sends heartbeat messages to a monitoring service. The monitor tracks when it last heard from each node and marks nodes as failed if heartbeats stop arriving.
sequenceDiagram
    participant N1 as Node 1
    participant N2 as Node 2
    participant N3 as Node 3
    participant M as Monitor

    loop Every 5 seconds
        N1->>M: Heartbeat: I'm alive
        N2->>M: Heartbeat: I'm alive
        N3->>M: Heartbeat: I'm alive
    end

    Note over N2: Node 2 crashes

    N1->>M: Heartbeat
    N3->>M: Heartbeat

    Note over M: 15 seconds pass<br/>No heartbeat from Node 2

    M->>M: Mark Node 2 as DEAD
    M->>M: Remove from load balancer
    M->>M: Trigger alerts
The flow:
- Node startup: Each node starts a background thread that sends heartbeats
- Periodic send: Every 5 seconds, node sends POST request to monitor with node ID and timestamp
- Monitor updates: Monitor records the last seen time for each node
- Monitor checks: Background process checks if any node hasn’t sent heartbeat within timeout (15 seconds)
- Failure action: If timeout exceeded, mark node as dead and trigger failover
Real-world example:
AWS Auto Scaling uses push-based heartbeats. EC2 instances send heartbeats to the Auto Scaling service. If an instance stops sending heartbeats, AWS terminates it and launches a replacement.
Pros:
- Simple to implement
- Sender controls frequency
- Works well with central monitors
- Nodes can include rich metadata in heartbeats
Cons:
- Monitor becomes a single point of failure
- Network overhead scales with nodes (1000 nodes = 1000 heartbeat messages)
- Monitor can be overwhelmed with many nodes
Pattern 2: Pull-Based Health Check
The monitor actively polls each node to check if it’s alive.
How it works:
Instead of nodes sending heartbeats, a central monitor reaches out to each node on a regular schedule and asks “Are you healthy?” Each node exposes a health check endpoint that returns its current status.
sequenceDiagram
    participant M as Monitor
    participant N1 as Node 1
    participant N2 as Node 2
    participant N3 as Node 3

    loop Every 10 seconds
        M->>N1: GET /health
        N1-->>M: 200 OK (healthy)

        M->>N2: GET /health
        Note over N2: Node 2 is frozen
        N2--xM: Timeout (3 seconds)

        M->>N3: GET /health
        N3-->>M: 200 OK (healthy)
    end

    Note over M: Node 2 failed health check
    M->>M: Mark Node 2 as FAILED
    M->>M: Remove from routing
The flow:
- Monitor maintains list: Monitor knows all nodes it needs to check (from configuration or service registry)
- Periodic polling: Every 10 seconds, monitor sends HTTP GET to
/healthendpoint on each node - Parallel checks: Monitor checks all nodes in parallel to avoid delays
- Timeout handling: If node doesn’t respond within 3 seconds, mark as timeout
- Failure detection: After 3 consecutive timeouts, mark node as failed
Real-world example:
Docker Swarm uses pull-based health checks. The manager node regularly polls worker nodes by sending health check requests. If a worker doesn’t respond, it’s removed from the cluster.
Pros:
- Monitor has full control over check frequency
- Nodes don’t need heartbeat logic (just expose an endpoint)
- Can perform sophisticated health checks (database connectivity, disk space, etc.)
- Easy to add custom health validations
Cons:
- Monitor must know all nodes upfront
- More network traffic (monitor initiates all connections)
- Scales poorly with many nodes (1000 nodes = monitor makes 1000 requests)
- Monitor becomes a bottleneck
Pattern 3: Gossip Protocol (Peer-to-Peer)
Nodes talk to each other directly, spreading information like rumors. No central monitor needed.
This is how Apache Cassandra and Consul detect failures without a central monitor.
graph TB
    subgraph "Cassandra Cluster"
        A[Node 1] -.->|Gossip| B[Node 2]
        B -.->|Gossip| C[Node 3]
        C -.->|Gossip| D[Node 4]
        D -.->|Gossip| A
        A -.->|Gossip| C
        B -.->|Gossip| D
    end

    style A fill:#dcfce7,stroke:#16a34a,stroke-width:2px
    style B fill:#dcfce7,stroke:#16a34a,stroke-width:2px
    style C fill:#fee2e2,stroke:#dc2626,stroke-width:2px
    style D fill:#dcfce7,stroke:#16a34a,stroke-width:2px
How it works:
Each node maintains a table of all other nodes and their status. Nodes randomly exchange this information with peers, spreading knowledge through the cluster like gossip spreads through a social network.
The gossip cycle:
- Pick random peers: Every second, Node 1 randomly picks 3 other nodes (say Node 2, Node 5, Node 8)
- Send state: Node 1 sends them its view: “I’m alive. Node 3 is alive (last seen 2s ago). Node 4 is suspicious (last seen 12s ago).”
- Receive state: Node 2 replies: “I’m alive. Node 3 is dead (last seen 35s ago). Node 6 is alive.”
- Merge views: Node 1 updates its knowledge. Since Node 2’s info about Node 3 is more recent, Node 1 marks Node 3 as dead
- Propagate: Next round, Node 1 tells others that Node 3 is dead. Within a few rounds, everyone knows
Failure detection timeline:
- 0-10 seconds: Node hasn’t gossiped, status remains “alive”
- 10-30 seconds: No gossip heard (directly or indirectly), mark as “suspicious”
- 30+ seconds: Still no information, mark as “dead”
Why this works:
Even if Node 1 can’t reach Node 3 directly, if Node 2 recently heard from Node 3, Node 1 learns that Node 3 is alive. Information spreads exponentially fast across the cluster.
Real-world example:
Apache Cassandra uses gossip to maintain cluster membership. Each Cassandra node gossips with 3 random peers every second. Even in a 1000-node cluster, failure information propagates to all nodes within seconds.
sequenceDiagram
    participant N1 as Node 1
    participant N2 as Node 2
    participant N3 as Node 3
    participant N4 as Node 4

    Note over N1,N4: Round 1
    N1->>N2: Gossip: All nodes alive
    N3->>N4: Gossip: All nodes alive

    Note over N3: Node 3 crashes

    Note over N1,N4: Round 2
    N1->>N4: Gossip: All alive
    N2->>N1: Gossip: All alive

    Note over N1,N4: Round 3 (10s later)
    N1->>N2: Gossip: N3 suspicious
    N4->>N2: Gossip: N3 suspicious

    Note over N1,N4: Round 4 (30s later)
    N1->>N4: Gossip: N3 DEAD
    N4->>N2: Gossip: N3 DEAD

    Note over N1,N4: Everyone knows N3 is dead
Pros:
- No single point of failure (fully distributed)
- Scales to thousands of nodes efficiently
- Self-healing and resilient to network partitions
- New nodes can join by gossiping with any existing node
Cons:
- More complex to implement correctly
- Eventual consistency (not immediate detection)
- Higher network overhead (every node talks to multiple peers)
- Requires careful tuning of gossip intervals and failure thresholds
The False Positive Problem
The biggest challenge with heartbeats: How do you know if a node is really dead, or just slow?
The Split Brain Scenario
sequenceDiagram
    participant A as Node A
    participant N as Network
    participant B as Node B

    Note over A,B: Both nodes healthy

    A->>N: Heartbeat to B
    N->>B: Delivered

    Note over N: Network partition!

    A->>N: Heartbeat to B
    N--xB: Dropped

    Note over A: No response from B<br/>Declare B dead?
    Note over B: No heartbeat from A<br/>Declare A dead?

    Note over A,B: Both think the other is dead<br/>But both are actually alive!
This is called split brain, and it’s dangerous. Both nodes think they’re the only survivor, so both try to be the leader. You end up with two leaders making conflicting decisions.
Solutions to Split Brain
1. Quorum-Based Decision
Don’t declare a node dead unless a majority of nodes agree. This prevents isolated nodes from making unilateral decisions.
How it works:
In a 5-node cluster, you need 3 nodes (majority) to agree that a node is dead before marking it as failed. This ensures that only the side of the network partition with majority can make decisions.
graph TB
    subgraph "Network Partition"
        A[Node A] -.->|Can't reach| D[Node D]
        B[Node B] -.->|Can't reach| D
        C[Node C] -.->|Can't reach| D

        A <--> B
        B <--> C
        A <--> C

        D <--> E[Node E]
    end

    F["Group 1: 3 nodes<br/>(Has Quorum)<br/>Can declare D+E dead"] --> G[Continue Operations]
    H["Group 2: 2 nodes<br/>(No Quorum)<br/>Can't make decisions"] --> I[Wait for Reconnection]

    style F fill:#dcfce7,stroke:#16a34a,stroke-width:2px
    style G fill:#dcfce7,stroke:#16a34a,stroke-width:2px
    style H fill:#fee2e2,stroke:#dc2626,stroke-width:2px
    style I fill:#fee2e2,stroke:#dc2626,stroke-width:2px
Why this prevents split brain: Only one side of the partition can have a majority, so only one side continues operating. The minority side stops making changes and waits for the network to heal.
2. Fencing
When you suspect a node is dead, actively prevent it from doing anything harmful. This is like revoking someone’s access badges when they leave the building.
Fencing actions include:
- Revoke credentials: API keys, tokens, certificates become invalid
- Block network access: Firewall rules prevent the node from reaching critical resources
- Revoke database permissions: Node can no longer write to shared data
- Remove from DNS: Traffic stops routing to the suspected node
- Power off (STONITH): In extreme cases, physically power off the machine
Example scenario:
A primary database server loses network connectivity but is still running. Without fencing, it might keep accepting local writes. With fencing, the moment it’s declared dead, its database credentials are revoked and firewall rules block its access. Even if it comes back online, it can’t cause data corruption.
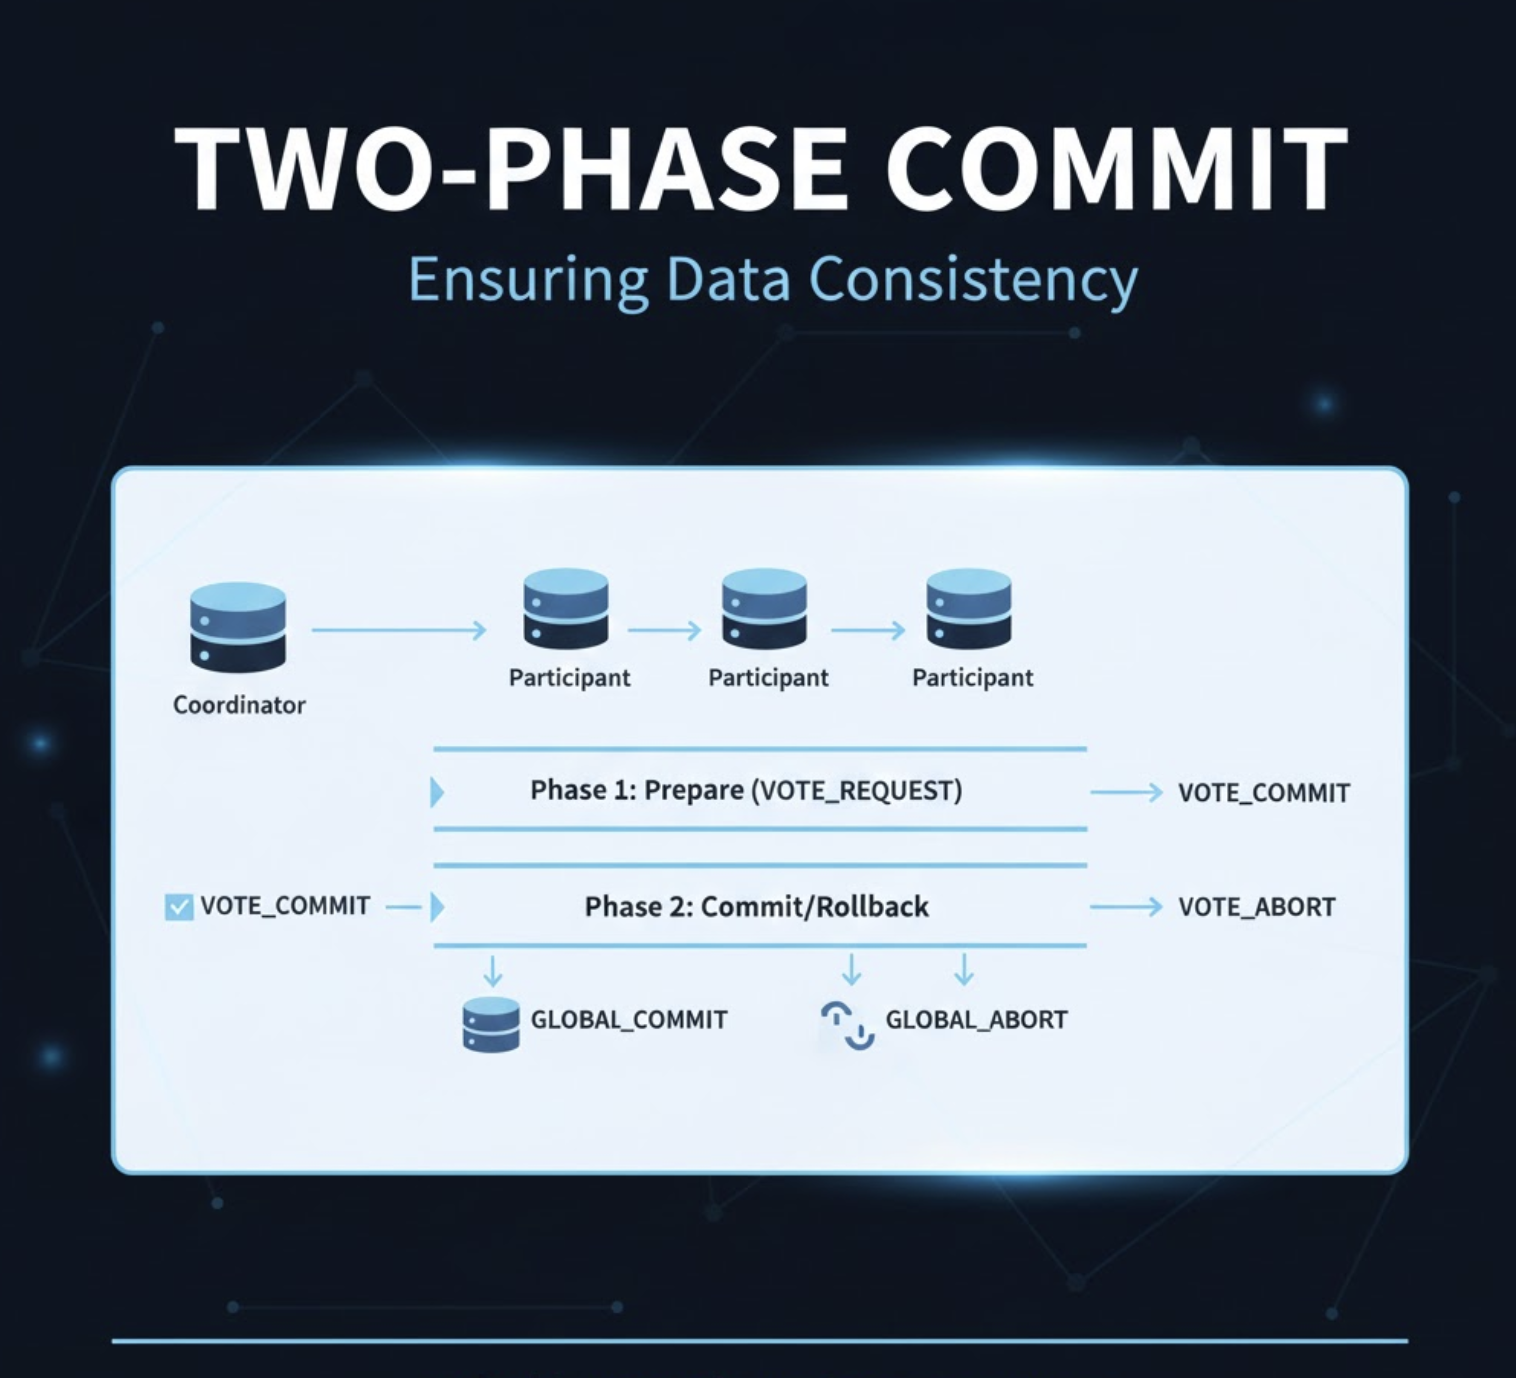
This is how Paxos and similar consensus algorithms prevent split brain. (Check out my post on Paxos for more details.)
3. Multiple Heartbeat Channels
Use multiple independent channels for heartbeats instead of relying on a single network path.
Different channels:
- Primary network: Regular TCP/IP heartbeats
- Shared storage: Write timestamps to a shared disk
- Database: Update a heartbeat table
- Secondary network: Separate physical network interface
Decision logic:
A node is considered alive if it’s responsive on at least 2 out of 3 channels. This way, if the primary network fails but the node can still write to shared storage and update the database, you know it’s alive and just network-isolated.
graph LR
    A[Monitor] --> B{Check Node Health}

    B --> C[Channel 1:<br/>Network Ping]
    B --> D[Channel 2:<br/>Shared Storage]
    B --> E[Channel 3:<br/>Database]

    C --> F{2+ channels<br/>responding?}
    D --> F
    E --> F

    F -->|Yes| G[Node is Alive]
    F -->|No| H[Node is Dead]

    style G fill:#dcfce7,stroke:#16a34a,stroke-width:2px
    style H fill:#fee2e2,stroke:#dc2626,stroke-width:2px
Why this works: If the network fails but the node can still write to shared storage, you know it’s alive even though network heartbeats failed. This dramatically reduces false positives.
Real-World Examples Deep Dive
Cassandra: Gossip + Phi Accrual
Cassandra uses a sophisticated failure detector called Phi Accrual. Instead of a binary “dead or alive,” it calculates a suspicion level on a continuous scale.
The Core Concept:
Instead of saying “if no heartbeat in 10 seconds, node is dead,” Phi Accrual asks: “Given the historical pattern of heartbeats, how suspicious is this delay?”
graph LR
    A[Heartbeat Arrives] --> B[Record Interval]
    B --> C[Calculate Mean<br/>& Std Dev]
    C --> D[Current Delay]
    D --> E{Calculate Phi}

    E --> F[Phi < 8:<br/>Node Alive]
    E --> G[Phi > 8:<br/>Node Suspicious]

    style F fill:#dcfce7,stroke:#16a34a,stroke-width:2px
    style G fill:#fee2e2,stroke:#dc2626,stroke-width:2px
How it works:
- Track historical intervals: Record the time between each heartbeat (e.g., 1.1s, 0.9s, 1.0s, 1.2s)
- Calculate statistics: Compute the mean and standard deviation of these intervals
- Measure suspicion: When a heartbeat is late, calculate how many standard deviations away from normal it is
- Convert to Phi value: The formula is
Phi = -log10(probability of seeing this delay if node was alive) - Declare failure: If Phi > 8 (default threshold), mark the node as down
Why this is better:
- Adapts automatically: If your network usually has 1-second heartbeats, a 2-second delay is suspicious. But if heartbeats are typically irregular, it’s more forgiving
- No hard timeouts: Instead of arbitrary timeouts, it learns from actual patterns
- Gradual suspicion: Phi increases gradually, so you can take preventive action before fully declaring a node dead
- Fewer false positives: Accounts for natural network variance
Real-world behavior:
- Regular heartbeats at 1s: If heartbeat is 3s late, Phi jumps to 10 (node marked dead)
- Irregular heartbeats (0.5-2s): Same 3s delay might only give Phi of 6 (node still considered alive)
HAProxy: Health Checks with Circuit Breaker
HAProxy (load balancer) combines heartbeats with a circuit breaker pattern.
1
2
3
4
5
6
7
8
9
10
11
# HAProxy config
backend web_servers
    balance roundrobin

    # Health check settings
    option httpchk GET /health
    http-check expect status 200

    # Circuit breaker settings
    server web1 192.168.1.10:80 check inter 2s fall 3 rise 2
    server web2 192.168.1.11:80 check inter 2s fall 3 rise 2
What this means:
inter 2s: Check every 2 secondsfall 3: Mark down after 3 failuresrise 2: Mark up after 2 successes
stateDiagram-v2
    [*] --> Healthy
    Healthy --> Suspicious: 1 failure
    Suspicious --> MoreSuspicious: 2 failures
    MoreSuspicious --> Dead: 3 failures

    Dead --> Recovering: 1 success
    Recovering --> Healthy: 2 successes

    Suspicious --> Healthy: Success
    MoreSuspicious --> Suspicious: Success
This prevents flapping (node rapidly switching between up and down).
etcd: Lease-Based Heartbeat
etcd uses a clever lease mechanism. Nodes hold leases that expire unless renewed.
1
2
3
4
5
6
7
8
9
10
11
12
13
14
15
16
17
18
19
20
21
22
23
24
25
// Go code for etcd lease-based heartbeat
client, _ := clientv3.New(clientv3.Config{
    Endpoints: []string{"localhost:2379"},
})

// Create a lease that expires in 10 seconds
lease, _ := client.Grant(context.TODO(), 10)

// Keep the lease alive with periodic heartbeats
keepAlive, _ := client.KeepAlive(context.TODO(), lease.ID)

// Register this node with the lease
client.Put(context.TODO(), "/nodes/server-1", "alive", clientv3.WithLease(lease.ID))

// As long as we send heartbeats, the key stays in etcd
// If we die, after 10 seconds the key disappears automatically
for {
    select {
    case <-keepAlive:
        // Heartbeat sent successfully
    case <-time.After(5 * time.Second):
        // No heartbeat in 5 seconds, something's wrong
        log.Fatal("Lost connection to etcd")
    }
}
Why this is elegant:
- If the node crashes, it stops sending heartbeats
- The lease expires automatically in etcd
- Other nodes watching that key get notified immediately
- No need for a separate failure detection mechanism
The Heartbeat Hierarchy
In production systems, you often have multiple layers of heartbeats:
graph TD
    subgraph "Layer 3: Service Level"
        S1[Service Instance] -->|App heartbeat| S2[Service Discovery]
    end

    subgraph "Layer 2: Container Level"
        C1[Container] -->|Liveness probe| C2[Kubernetes]
    end

    subgraph "Layer 1: Infrastructure Level"
        N1[VM/Node] -->|System heartbeat| N2[Cloud Provider]
    end

    S1 --> C1
    C1 --> N1

    style S2 fill:#dbeafe,stroke:#3b82f6,stroke-width:2px
    style C2 fill:#fef3c7,stroke:#f59e0b,stroke-width:2px
    style N2 fill:#dcfce7,stroke:#16a34a,stroke-width:2px
Layer 1: Infrastructure
- AWS: EC2 instance status checks every minute
- Azure: VM health monitoring
- If the VM is dead, restart it
Layer 2: Container Orchestration
- Kubernetes: Liveness and readiness probes
- If the container is dead, restart it
Layer 3: Application
- Service discovery: Consul, etcd health checks
- If the service is dead, remove from routing
Each layer has different failure detection times and responses.
Monitoring Your Heartbeat System
Key Metrics to Track
1
2
3
4
5
6
7
8
9
10
11
12
13
14
15
16
from prometheus_client import Counter, Histogram, Gauge

# Counters
heartbeat_sent = Counter('heartbeat_sent_total', 'Total heartbeats sent')
heartbeat_failed = Counter('heartbeat_failed_total', 'Failed heartbeat attempts')
node_marked_dead = Counter('node_marked_dead_total', 'Nodes marked as dead')
node_recovered = Counter('node_recovered_total', 'Nodes that recovered')

# Histograms
heartbeat_latency = Histogram('heartbeat_latency_seconds', 'Heartbeat round-trip time')
failure_detection_time = Histogram('failure_detection_seconds', 'Time to detect failure')

# Gauges
active_nodes = Gauge('active_nodes', 'Number of active nodes')
suspicious_nodes = Gauge('suspicious_nodes', 'Number of suspicious nodes')
dead_nodes = Gauge('dead_nodes', 'Number of dead nodes')
Dashboards
Create dashboards that show:
- Heartbeat success rate: Should be 99.9%+
- Failure detection time: How fast do you detect failures?
- False positive rate: How often do you mark healthy nodes as dead?
- Recovery time: How long until a recovered node is back in service?
Wrapping Up
Heartbeat mechanisms are the pulse of distributed systems. They answer the fundamental question: “Is this thing still alive?”
The key insights:
- Dead vs slow is hard to distinguish: Use adaptive timeouts and multiple signals
- False positives are expensive: Conservative thresholds prevent split brain
- Different layers need different heartbeats: Infrastructure, container, and application levels
- Metadata makes better decisions: Send more than just “alive”
- Test failure scenarios: Your heartbeat system is useless if it doesn’t work when you need it
Whether you’re using Kubernetes health probes, building a custom gossip protocol, or implementing lease-based detection like etcd, the principles are the same: regular signals, sensible timeouts, and graceful handling of failures.
Remember: in distributed systems, things will fail. Heartbeat mechanisms ensure you know about it quickly and can respond appropriately.
Want to dive deeper into distributed systems? Check out Gossip Dissemination: How Clusters Spread Information for the protocol that Cassandra uses for peer-to-peer failure detection without a central monitor.
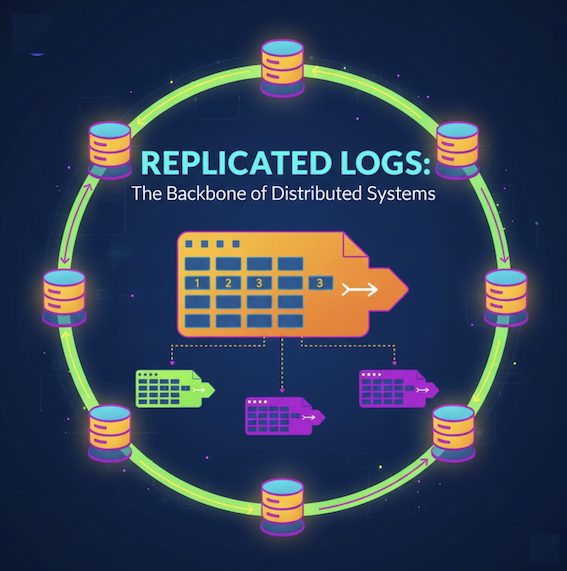
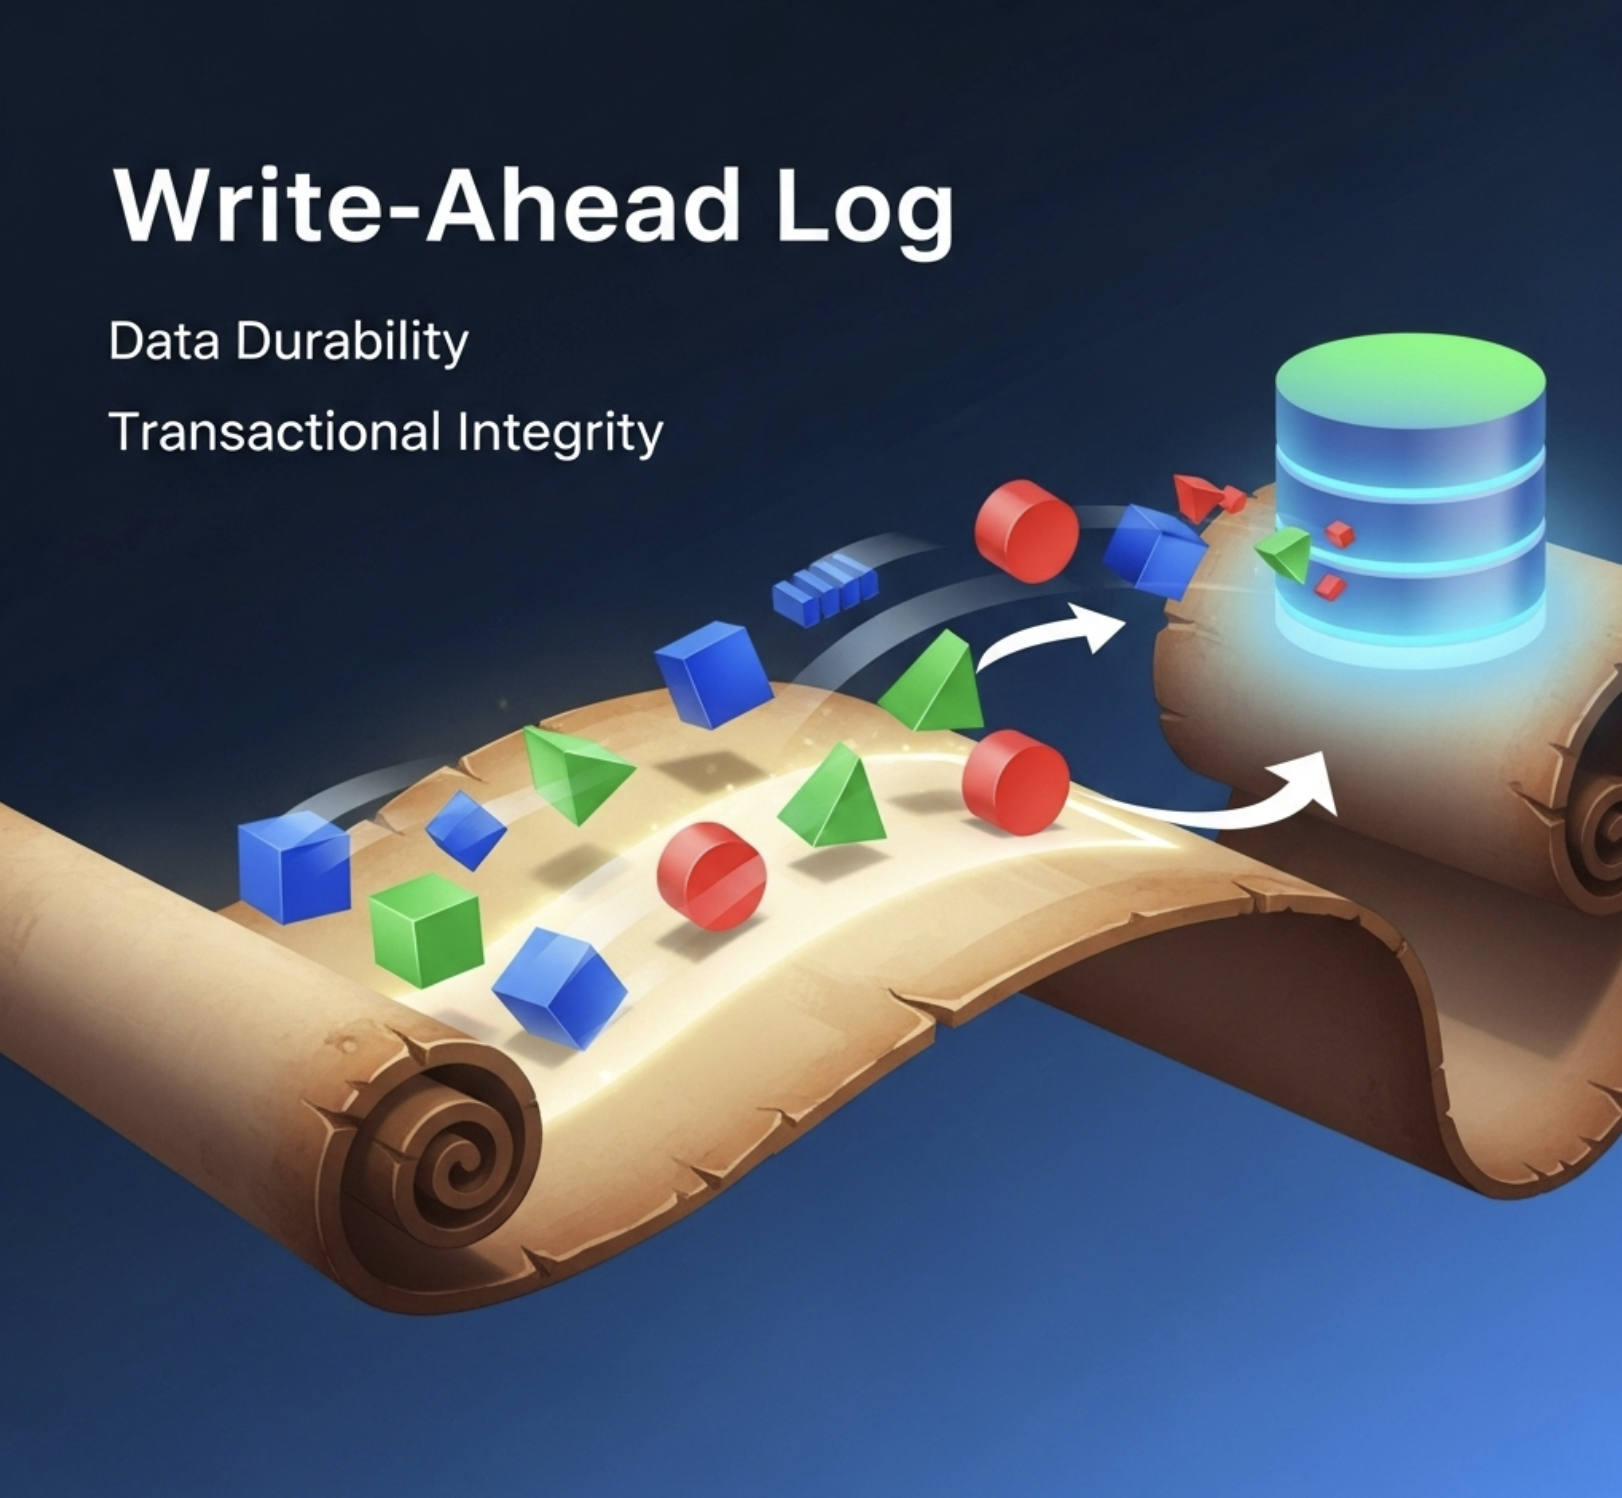
Also see Replicated Log: How Distributed Systems Stay in Sync, Paxos: The Democracy of Distributed Systems, and Write-Ahead Log: The Golden Rule of Durable Systems.
Building reliable systems? Read Stop Blocking Your Paying Customers: Build a Smart Rate Limiter.